By default your site will appear to have a small white border, but you can get rid of this.
The container is what contains the whole screen. The problem is that 'realtive' positioning will create this border.

Delete position:relative; float:left; and replace with absolute top:0px; left:0px; this will align it to the left of the screen.

However if you want it to sit in the centre of the screen, code the following. The margin left is half the width.


At the moment this is still a html file, not a dtw file. File, save as template.


Where highlighted, movethe <div> down a couple of lines to separate each button, and add the rest. File, save as and then save all.


Instead of retyping our index.html for every page, we are going to create a 'DWT' (dream weaver template) file. Normally you would create this first, before the index. To edit all of the pages, all you have to do is edit the template.
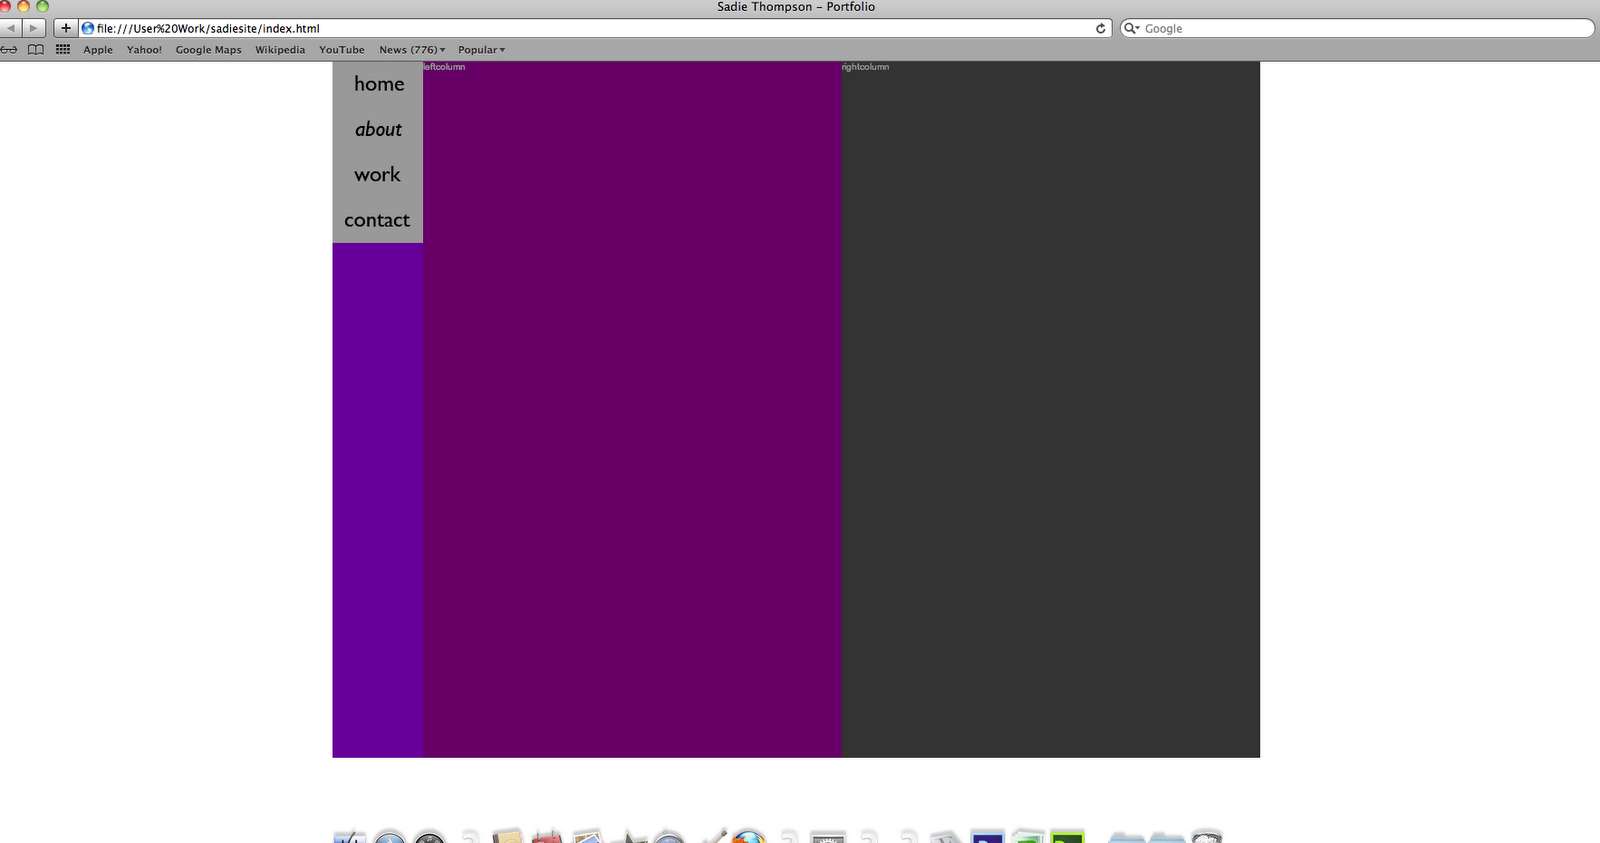
You determine which parts are going to be editable, the 'editable region'. The navigation is going to remain consistent throughout the site, so we want the left and right column to be editable.

It doesn't especially matter what you call the region, because we have two columns, leftcolumn and rightcolumn will do (no capitals or spaces). Go on to insert, template objects, editable region. It should look like this.

If there is a glitch (like there was this time!) and the code appears in the wrong place, you can cut and paste, but not copy and paste.

If asked to update links, click yes, to change editable areas.
Your new template should now show on the right.

Our index wasn't made from the template, so won't change when we edit the template. So delete it.
File, new, page from template, create.
Save as index.
Now repeat for, contact, work and about.
Next we are going to make our buttons to navigate and link the pages together.
Most websites use rollover buttons to give the user an indication that it is there. The simplest is to underline, italics, slight colour change, change of text, a shape appearing etc.
For this we are going to use Photoshop. Create a new file, to the correct dimensions (100px by 50px). 72 dpi, RGB. For the background colour, if you are just working with solid colours, then just make it transparent and then add when coding to reduce file size.
In Photoshop create the button, and the rollover image on different layers . save for web and select 4-up.
Select the layer you want to save and hide the other.
If working with a transparent image, save as png-24, but for any type of image use jpeg. Save, always keep the fie extension (png). home1.png. Now do the same with rollover. home2.png.
Now the same for other buttons.
Go back to dreamweaver and select template file. We inly have to create the buttons in the template to add them to every page.
The only way to create a rollover button, we need to we javascript.
Th firt button s going next to navigation. Insert, image object, rollover image.

Save as home button and add image and rollover image. Keep preload rollover image checked.
Alternate text is what is searchable by search engines such as google. The law is that anyone can use your website. By giving images alternate text, a screen reader can use the alternate text. Home button. When clicked... browse... index.html.

Lots of code!


Refresh the web page to check it.
On each page, where it says left column, type in homepage, contact page etc.

To border your columns, we use a box model.

Avoid using margins, because it complicates things, try to use padding instead.
We are going to work in the style sheet for this.
Add 10px padding in left column.

This initially throws everything off and will probably pus the right column off the side, because the width is now greater than the container. We now have to minus the padding off of the column width and height. (20px, 10 for each side).

Now do the same for the right column.
Add an image by putting it in Photoshop and make it the correct size and resoultion. Jpeg, 442px, 72 dpi. Put into root folder and click into right column, and insert image.


No comments:
Post a Comment