Tuesday 13 December 2011

After Effects Induction 3

Keyframe interpolation and using Illustrator paths.

To interpolate means to insert between fixed points.

The pen tool in After Effects works the same way that it does in Illustrator.


If you select the convert vertex tool then click on an anchor point, it will go from being a curve to a point.


If we want to change the interpolation of the animation you can use the interpolation menu under animation, make sure you have a keyframe selected when doing this.


You can also right click on a keyframe to get to this setting, this includes if you select more than one keyframe.


If you select all of the keyframes and select toggle hold keyframe. You see the path but not all the details of it, this control takes away the interpolation, and makes the object jump from dot to dot. The keyframes also go from looking like a yellow diamond to a little yellow arrow. This is good for any types of animation that would flash or wink for example.


The spacing of your keyframes determines the speed of the motion. Each dot on the motion line represents a frame, the more frames the slower the motion.

If you select rove across time on the interpolation drop down menu then it gives you the effect of holding down the alt key when changing the length of the motion. The keyframes will remain an equal distance apart from each other.


 If we create an outline in Illustrator, we can use it as a motion path in After Effects.  Firstly, create the outline copy it and then in After Effects select the 'position' layer and make sure the stopwatch symbol is selected. Then simple paste it and the keyframes wills automatically be placed.


Currently the square has automatically gone clockwise around the circle. To make it go anti-clockwise go on to the animation drop down menu and then select, key-frame assistant and then time-reverse keyframes.


If you select orient path on the layer, transform menu while your layer is selected then the object will rotate with your path.


To make a circle, create a new solid in the layer menu, select 'make comp size' and then click n the elipse tool.


There are various options you can use within the mask (the circle).


You can add things in as a mask straight from Illustrator. Simply make a new solid that is the size of the the composition and then copy and paste the vector straight from Illustrator. 


Select all four masks and press M (shortcut for mask) select all and then enable keyframes for them by clicking the stop watch.
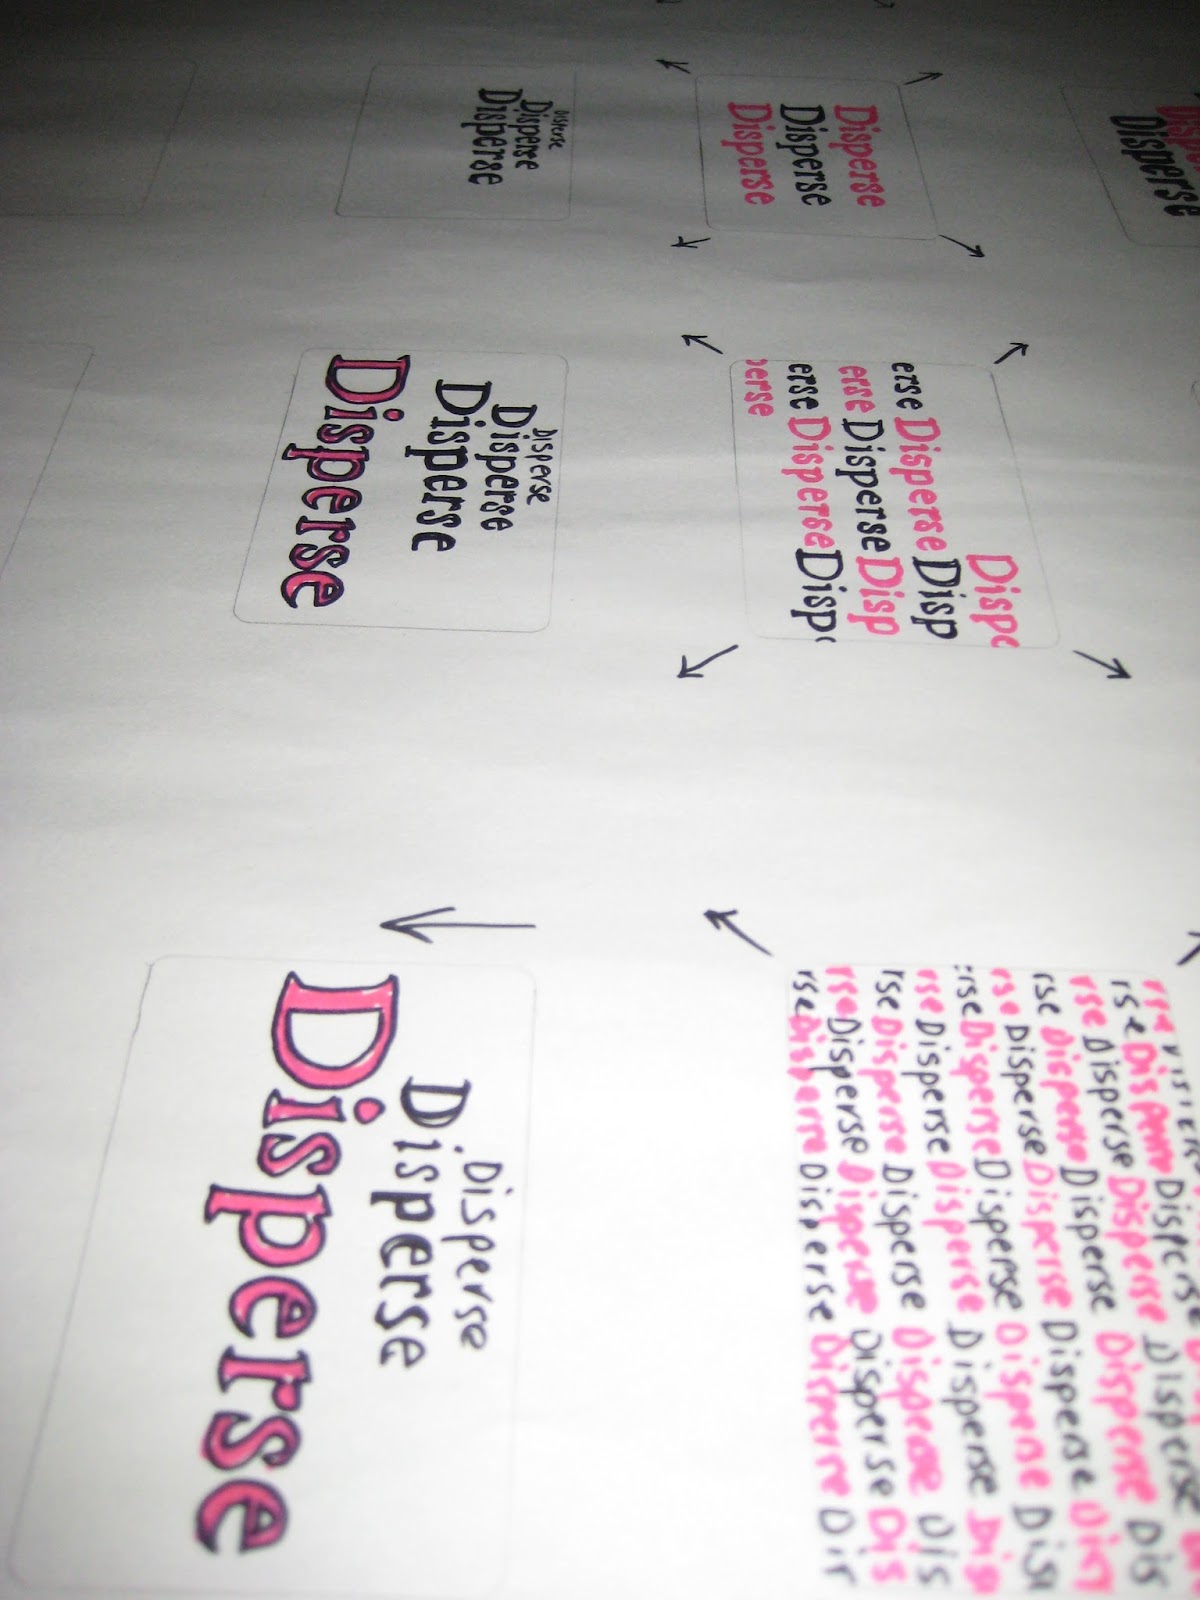


Melted type.


Make the mode drop down menu appear b clicking on toggle switches/ modes at the bottom.


We can use these drop down menus to create a moving cloud effect. This is created by making the clouds larger than the composition and simple using a position keyframe. Then select the alpha matt option on the track matt drop down menu.


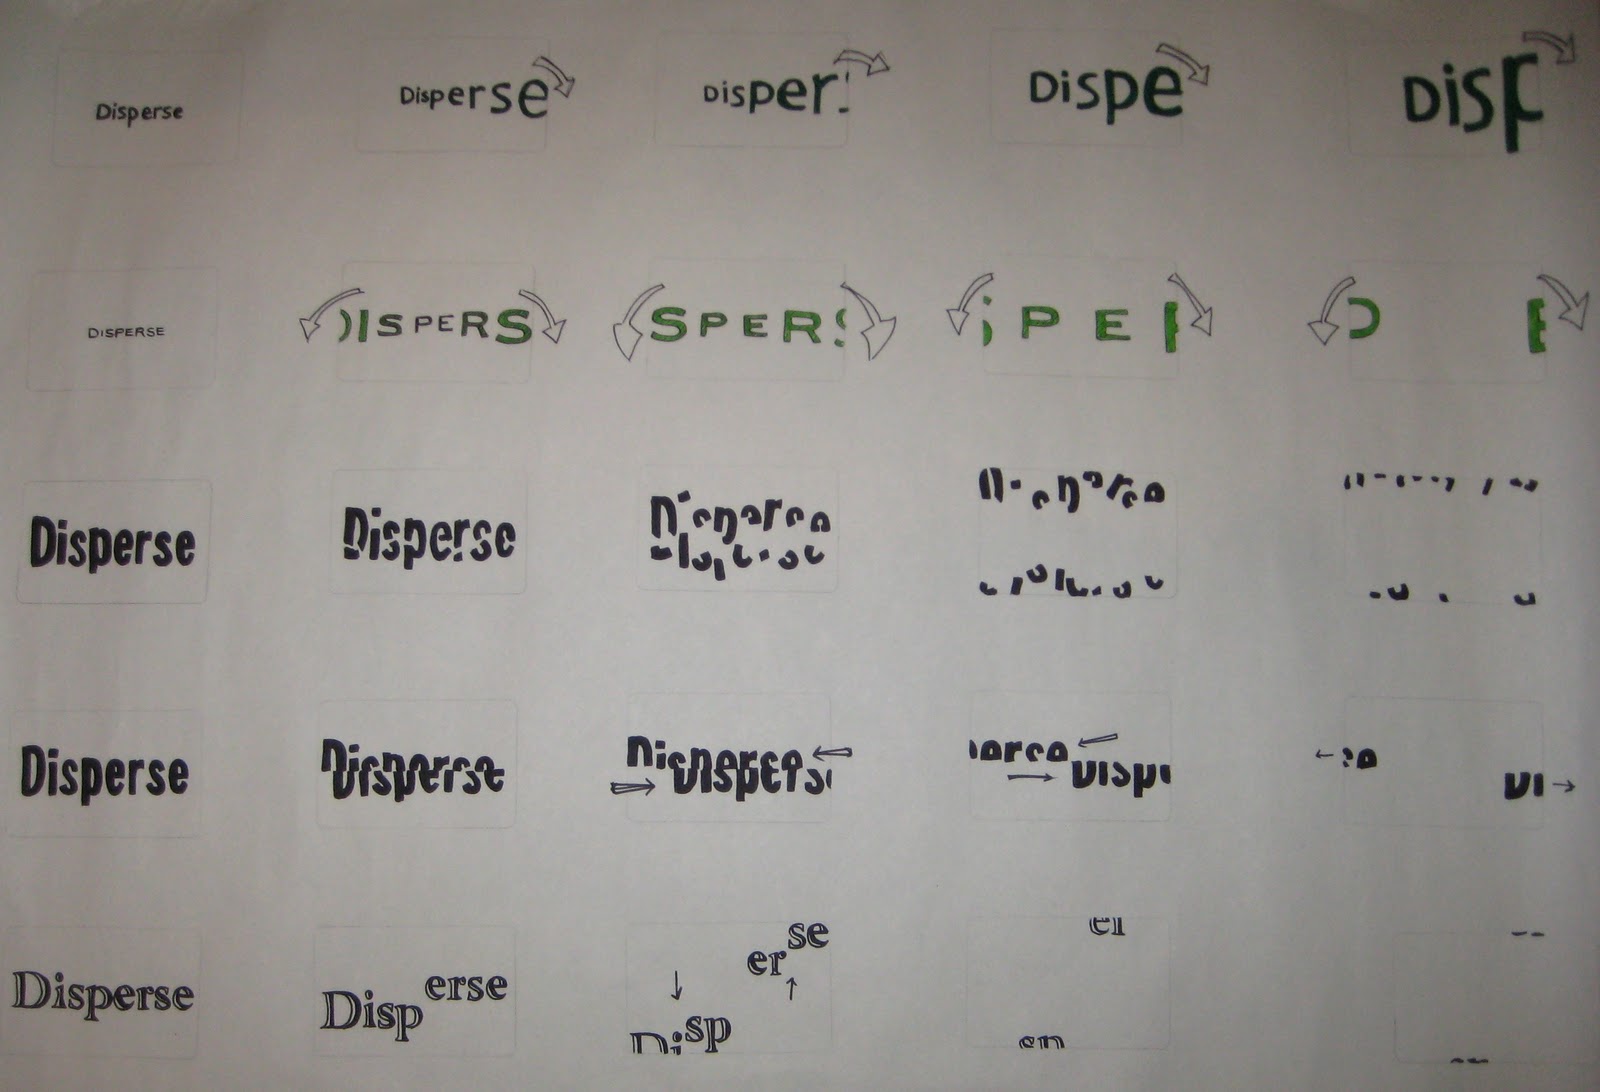
We also learnt how to make the text 'blink'

Tuesday 6 December 2011

Silent movie

Today we experimented with timelines, which involved a lot of counting and maths! It was a bit hard to get my head around at first, but once I did it became easier. We used the screen grabs that we prepared for this session and were asked to firstly put them in equal intervals throughout the timeline, and then to space them out to where we think the keyframes are.


Silent movie

For today we were set a task to do five pages of various sequences of our words. I have decided to work on just disperse as this is the word that I have more ideas for. This time we had to go into more detail of our ideas, use the entire word, use black white and one colour and consider everything we were taught in last weeks task. This is what I cam up with.


After Effects Induction 2

When choosing your setting, the composition are preset. It is worth taking note of these for use when exporting from Illustrator or Photoshop. The frames per second is also set. You can change the duration.


In Photoshop we need to create something that is appropriate for After Effects. The resolution needs to be 72 dpi as it is for screen based design. We will also be working in RGB mode. The document size will be measured in pixels, so that we can compare to our After Effects composition.


If you set the document to film and video mode then you will find that there are similar options as After Effects. If we choose the same setting then it will be exactly the same as our composition.


When producing a Photoshop document for video you are given guides. The outer lines are to represent the 'action safe zone'. Anything you position inside these lines will be viewable however the video is viewed. Keep anything significant within these zones. 
The inner lines are to represent the 'title safe zone'. Any text should be kept within these guides.


You can also turn these guides on in After Effects by selecting it on the drop down menu along the bottom of the composition box.


Save your Photoshop files as PSD files to allow you to do anything you want to them when you import the to After Effects. When working with Photoshop artwork it is very important that it is the right size so that it doesn't become pixelated.


If you import a file as 'footage' then it will occupy just one layer.


When the file is imported it appears as an asset in your project panel. Here it tells you the name and also the path of the file. This lets you know that After Effects works with images in the same way as InDesign. It doesn't import the actual image but establishes a link to the file. Therefore it is important to keep all of your original images together in the same folder.


You can just drag it into your composition window.

If you want to adjust your composition while your working on it, such as changing the background colour, you click on composition, composition settings.


If you want your image to be dead centre in the frame then drag it into the layers panel.


You can work with layers in Photoshop and continue to use these layers in After Effects. Such as this word 'shatter' produced separately on Photoshop.


This type of image needs to be imported as a composition.


If you look at the project panel, this type of file looks different to a footage file. This is because there is a different Photoshop file for every layer.


We now have two compositions to work with. Any After Effects project can include more than one composition. Double click on a composition to work with it.

Each layer from Photoshop is now in your layers panel, allowing you to animate them all individually.


The first thing to do is to add a position keyframe on every layer by selecting all layers, pressing the P shortcut for position. Then click on the stopwatch symbol while all layers are still selected to add you keyframes. Make sure your time ruler is where you want the keyframes to start.


You then move the time ruler to when you want the movement to end to add another keyframe. Then move the pieces manually.


If you want to change the speed of the pieces from one another then simply move around the keyframes. This also alters when the pieces stop and start to move.

You can also change the anchor points to alter which path each piece will take.


We have now imported an image to scale. Each letter is on a different layer, but are all centred around the same anchor point. This means that you can rotate, change the scale etc together or individually but around the same central anchor point.


When importing if you choose 'composition- retain layer sizes' then the anchor point is central to each of the layers actual content. This means that when rotating or scaling etc one of the letters, the anchor point is central to it. Which you use is simply down to which one is most useful to you.


Just as in Photoshop when using Illustrator you adjust the settings to a the video and film preset.


The file appears different to if you were working in print.


We are going to import the illustrator file as footage.

When we import an illustrator file, After Effects rasterizes the artwork so it becomes pixelated when you enlarge it.


If you select the 'shy switch' on the layers panel then the content will appear in your composition, but not in your timeline. This makes things neater and easier to work with. You will also have to select the shy button to make them disappear. If you uncheck it they will reappear.


you can also change the quality of your video layer by layer by selecting these options on the layer panel.


The motion blur switch applies a motion blur any movement on that layer. The faster the movement, the more noticeable the motion blur. There is also a main switch at the top of the layers panel that enables a blur to the overall video. This applies to rotation, scale and position.
This increases the ram preview time so that it is a good idea to turn this off when previewing.


This switch is the continuously rasterize effect, this means that it is rasterized frame by frame which keeps the edges sharp. Effectively it is like keeping a vectored image. Having a lot of Illustrator files would slow down the ram preview. To stop this you could uncheck this while working and check it again when exporting the video.


A useful way to check that you have all of your files together is when saving check the collect files option after saving, and then selecting the folder that contains all of the files used in your video.