
Creating text within After Effects.

You can select the text by dragging over or by double clicking on that layer.

The animation options are all the same as usual.
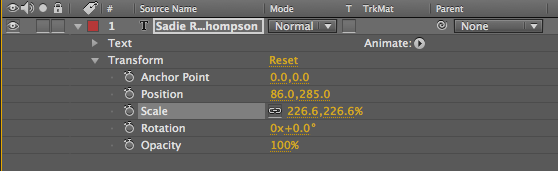
The first difference is the position of the anchor point, normally it would be in the centre of the image, but when working with type within After Effects it is positioned at the beginning of the text.
If you want to changethe anchor point, simply drag over the yellow numbers next to the anchor point option.

However, the downfall with this is that it moves the text and not the anchor point, changing your animation.
Another, easier way to change the anchor point is by selecting the pan behind tool.


If you remove some words, a square keyframe appears.

Using this property you can make more text appear over time.


You can also change the colour of the text over time.


...and the size.

We have a little side menu called animate.

Choosing position to start with.
We have added an animator option to our text properties.

We now have two position properties, they both do different things.

We need to look at the range selector, start, end and offset.

If you change the position by using the yellow numbers and then change the start, it will move it back to its original position, letter by letter.


Another option is to animate using the offset selection.


If you drop down the advanced menu and change the units from percentage to index, then it allows you to animate the text character by character.

You can also change the mode.

You can delete each animation by selecting the animator layer.

Now work with the scale.

If you select index then it allows you select how many characters are going to be effected. Change the start and end to 10 and 11 and then change the offset.


Changing the tracking amount will change the spaces between the characters as it changes size.


You can also make it change colour.


Changing the offset, smoothness and other settings will change the effect.
To make the text move along a path, create a new mask and then with the pen tool draw a path. On the path option menu select your mask and then the text will sit on it. Then change the number next to first margin to make it move, adding keyframes.


VIDEOO!!!
No comments:
Post a Comment